Nail Art Using Baking Paper
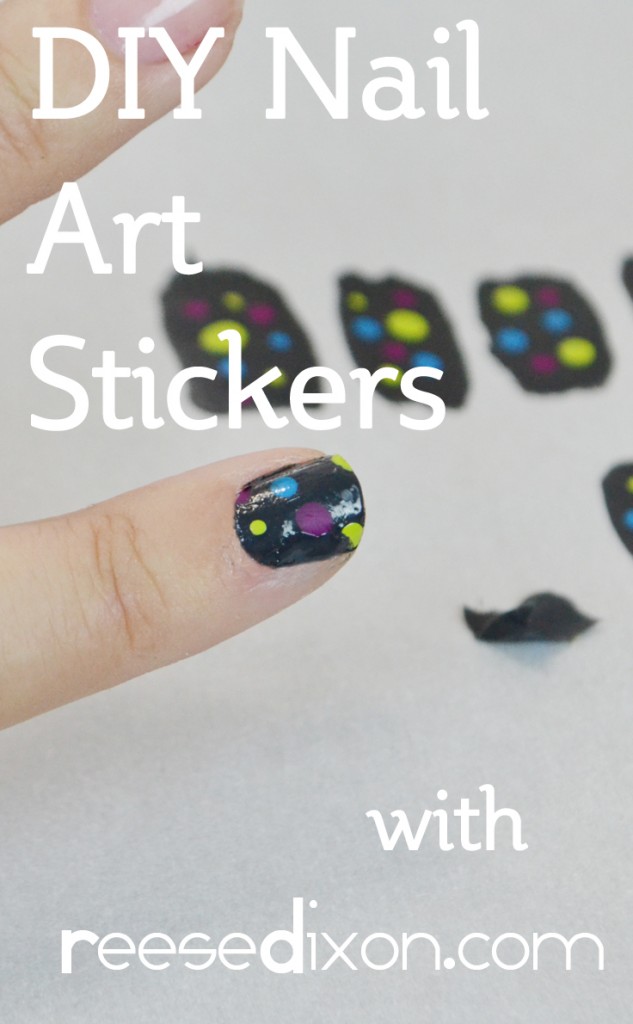
So with the DIY Nail Art tools I shared yesterday, I've been practicing my nail art skills and come to the realization that I'm not great. There are a few things working against me – not being terribly ambidextrous, not putting in any practice time – but the thing that gets me every time is waiting for all the layers of pretty paint to dry. I botch my nails EVERY TIME I put paint on them. Literally. I cannot seem to wait for the paint to dry, and then if I've managed to be still long enough for it to dry, I always forget about giving it time to cure and mess it up with dents and gouges. You add multiple layers of paint or, oh for goodness sake, pools of paint like in polka dots, and I don't have a chance.
I've gotten in to nail art stickers, but they're pricey. And as a rule I can't stand paying for something I'm technically capable of myself. So I needed to come up with a way to make my own.
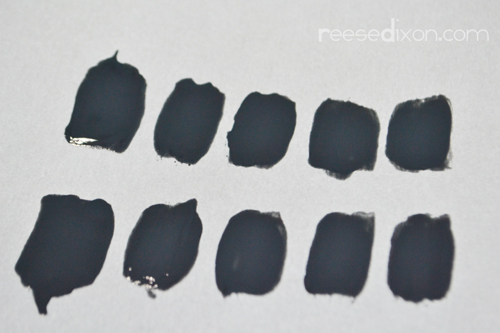
The secret is parchment paper. It has to be parchment paper – not wax paper. There is a very significant difference. On parchment paper the polish lifts up like a dream. This might work on tinfoil or plastic bags, but I didn't bother experimenting. It's so dang perfect on parchment paper.
Paint ten rectangles bigger than your nails. Paint two or three coats, as necessary, to get the base color you want.
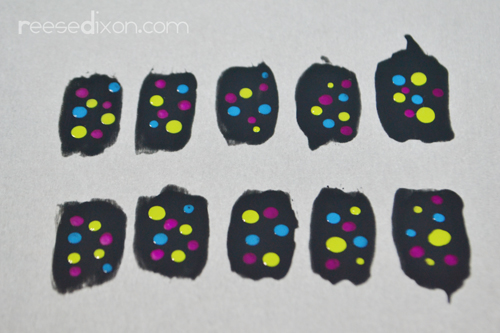
Decorate to your heart's content. After coming up with this I'll never try and do polka dots any other way. It's amazing to just leave these to dry overnight and know you're coming back to completely cured polka dots with no smearing.
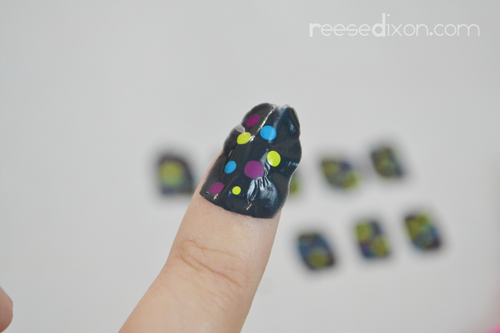
Peel the stickers off of the parchment paper, being careful not to tear them. Paint your nails with a base coat and while they're still wet apply the nail sticker and press firmly to smooth it in place. Depending on how neat you painted your rectangles, you may want to trim the base in a rounded curve to give you a smooth place to start applying. Just cut the sticker with a small pair of scissors.
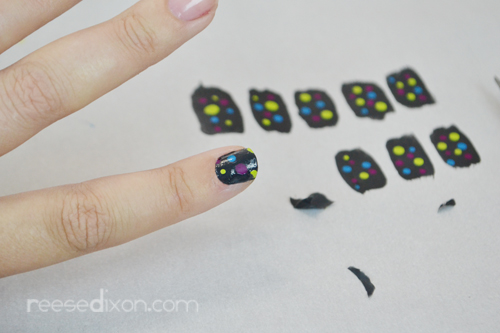
Whenever I use nail stickers I finish with a couple of thick layers of top coat, paying extra attention to the sides. With a thick topcoat you can make your manicure last for over a week.
If I was just painting a solid color I think it's more time efficient to just paint your nails. But once you start adding all the decorative flourishes, I don't think I'll do it any other way. I get to ensure that everything gets all the way dry before I mess it up, I get the benefit of using my dominant hand for everything, and I get to do it on a flat surface and not worry about coloring outside the lines. It's almost too good to be true.
Source: http://www.reesedixon.com/2014/02/diy-nail-stickers.html
0 Response to "Nail Art Using Baking Paper"
Post a Comment